
[ad_1]

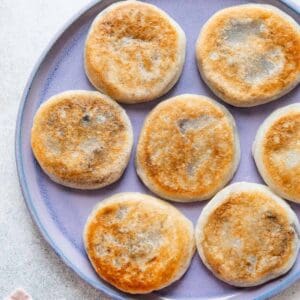
Sweet rice cakes with red bean paste filling are something that Mama Lin makes often for gatherings. They are flat “cakes” with a chewy mochi-like exterior and smooth red bean paste in the center. In Chinese, these cares are called 糯米餅. The phrase 糯米 means glutinous rice and 餅 generally refers to circular and flat prepared foods. This may include scallion pancakes, cookies, or cakes like you see in this recipe.

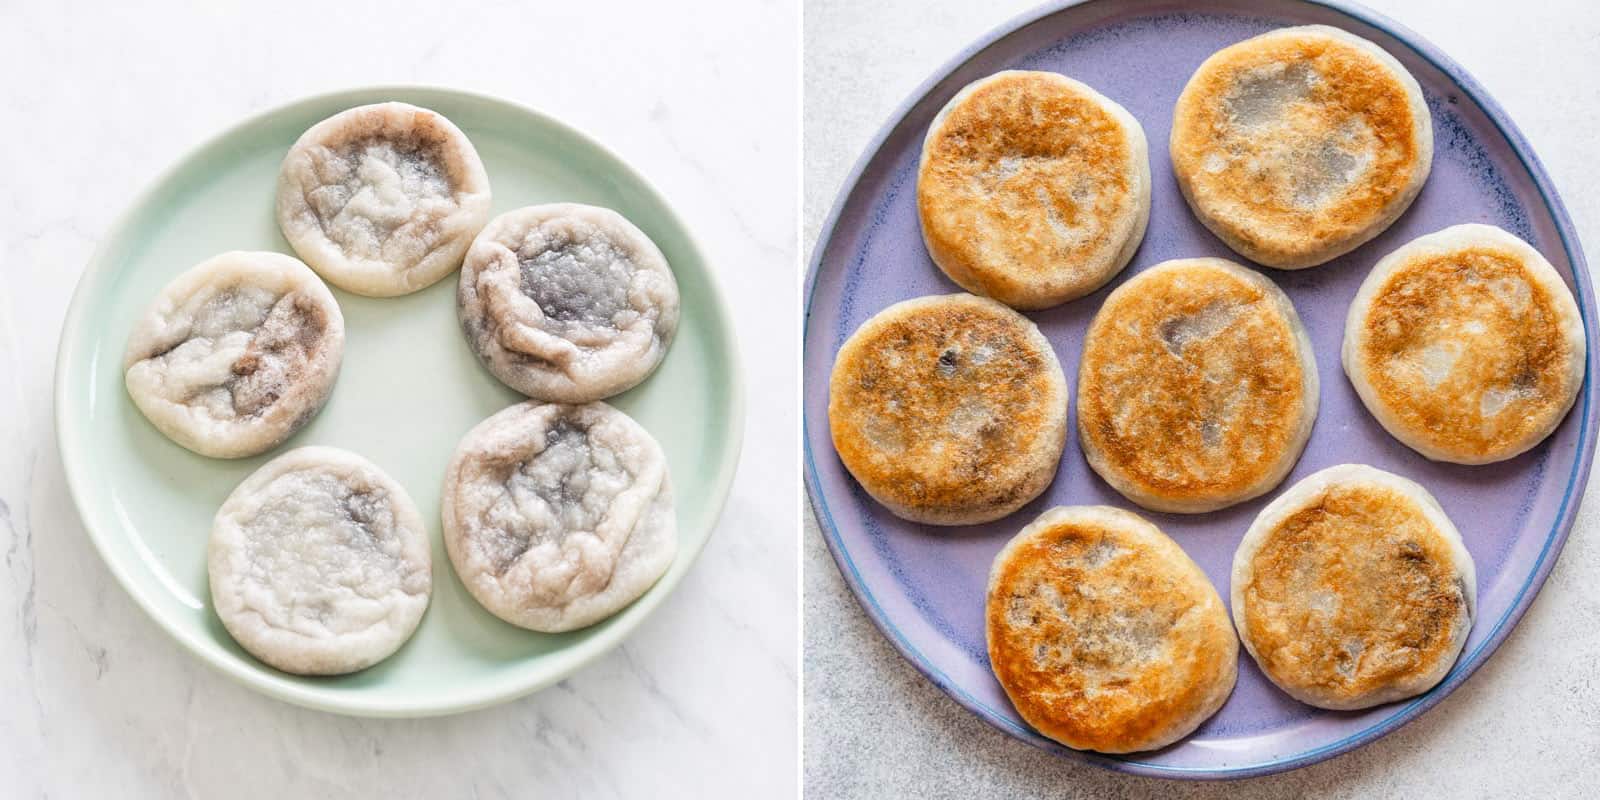
My mom showed me how to make these sweet rice cakes a while ago, but it has taken me some time to practice and streamline the recipe. In her recipe, my mom bakes the rice cakes so that they would be less greasy once cooked. However, I prefer the rice cakes pan fried, which creates a lovely golden crust on the cakes. In the recipe below, I outline both cooking methods.
COOKING NOTES FOR SWEET RICE CAKES
MAKING DOUGH WITH HOT WATER
For this recipe, you’ll need to make a very pliable dough that can easily wrap around the red bean paste filling. The way to make a stretchy dough with glutinous rice flour is to mix the flour with boiling hot water. Using cold or warm water won’t work.
A STICKY DOUGH
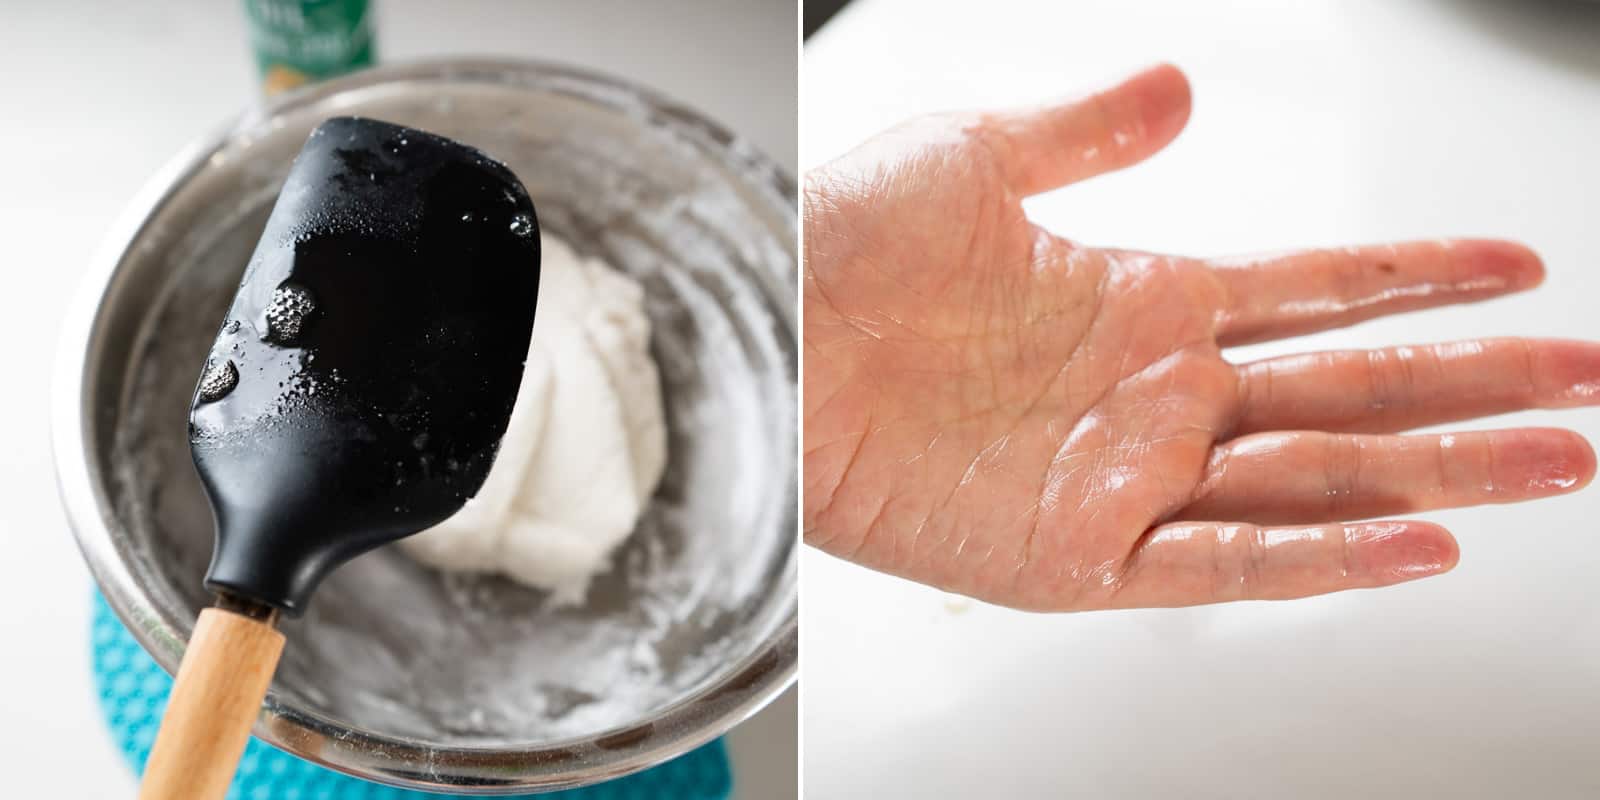
This dough is incredibly sticky. Mama Lin recommends spraying your hands generously with cooking spray before working with the dough. As a matter of fact, it’s also a good idea to grease any plate, spatula, or measuring spoon that touches the dough.
Oil doesn’t work as well as cooking spray. I tried greasing my hands with oil when testing the recipe, and I found I had to constantly reapply more oil to my hands. I suspect the soy or sunflower lecithin present in cooking sprays helps keep the dough from sticking to my hands for a longer period.
USING GLUTINOUS RICE FLOUR
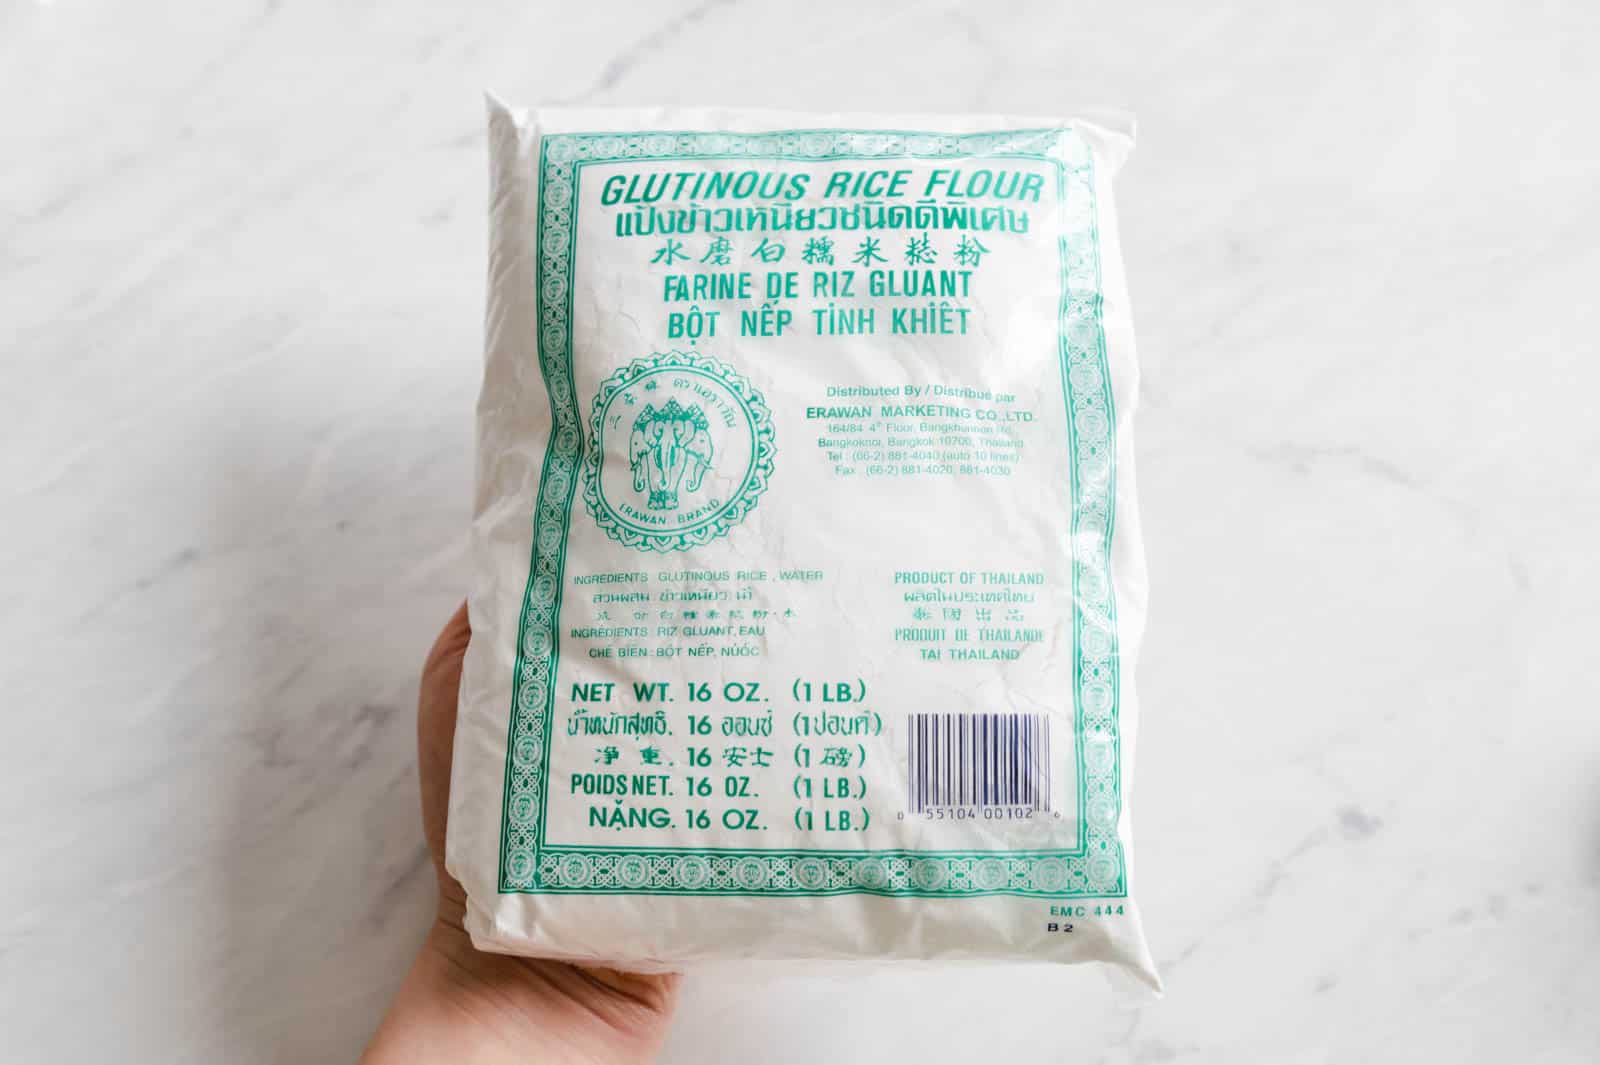
You must use glutinous rice flour for the dough. My mom typically uses Erawan brand’s glutinous rice flour (from Thailand), which comes in see-through plastic bags with a green label. You can find the flour in Asian grocery stores or on Amazon.
Do not use regular rice flour, as the dough will not become pliable. If glutinous rice flour is difficult for you to find, you can use sweet rice flour (such as Mochiko or this one from Bob’s Red Mill).
LEARNING FROM MY MISTAKES
During my test batches, I made quite a few mistakes. I wanted to share them here so the same thing doesn’t happen to you!

I thought baking the cakes for a longer period (20 minutes total) would brown them. I was wrong. Instead, the red bean paste started leaking from the bottoms of the cakes.
Keep an eye on the cakes when pan frying them because they can burn easily. I tried pan frying the cakes on a cast iron pan, thinking this would create a better crust on the cakes. However, I found it difficult to control the heat of the cast iron pan. Some cakes were charred while others didn’t brown evenly. That’s why I recommend using a nonstick pan for this recipe.
OTHER RECIPES USING GLUTINOUS RICE FLOUR

Servings: 13 cakes
Sweet Rice Cakes with Red Bean Paste
Ingredients
- cooking spray, see note 1
- 1 1/3 cups (about 400g) red bean paste
- 2 cups + 1 tablespoon (225g) glutinous rice flour, can sub with sweet rice flour or mochiko (see note 2)
- 2 tablespoons (15g) wheat starch, can sub with tapioca starch
- 1 1/4 cups (295mL/286g) water
- 1/2 cup (100g) granulated sugar
- 1 tablespoon vegetable, canola, or any other neutral-flavored oil, plus more for frying cakes
Instructions
-
Grease 3 large plates with cooking spray. Set them aside.
-
Using a medium cookie scoop or a large spoon, scoop out 1 1/2 tablespoons (27 to 29 grams) of red bean paste. Transfer to a greased plate. Continue dividing the bean paste until you get 14 portions total. Grease your hands with cooking spray and roll the pieces of bean paste into balls. Place the balls back onto the plate.
-
In a mixing bowl, whisk together the glutinous rice flour and wheat starch. If possible, place a silicone mat under the bowl. This will help keep the bowl in place when you mix the dough.
-
Add the water and sugar to a saucepan and bring to a boil. Right when the water starts boiling, turn off the heat. Stir the liquid to make sure the sugar has dissolved completely.
-
Immediately pour the hot sugary liquid into the bowl with the flours. Next, add the oil to the bowl. Use a wooden spoon to stir the liquid and flours together as you pour the hot liquid. The heat of the liquid is critical to making the dough stretchy and pliable. Once the water cools, even for several minutes, the dough will not be the optimal texture. Continue stirring everything until it looks like the flours have absorbed all the liquid.
-
The dough will be too hot to handle with hands at this stage. Grease a silicone spatula with cooking spray and use it to press and fold the dough together (see note 2). After about 2 to 3 minutes of working the dough, you should see a cohesive and smooth dough.
-
Grease your hands with cooking spray to keep the dough from sticking to your hands. Reapply cooking spray to your hands if you feel the dough starts to stick.
-
Grease a large spoon or measuring spoon with cooking spray, and scoop out 7 pieces of dough that are about 2 tablespoons (45 to 47 grams) each. Transfer the dough to a greased plate. Cover the mixing bowl with a plate or silicone lid to keep the dough warm. If the dough starts sticking to the measuring spoon, reapply cooking spray.
-
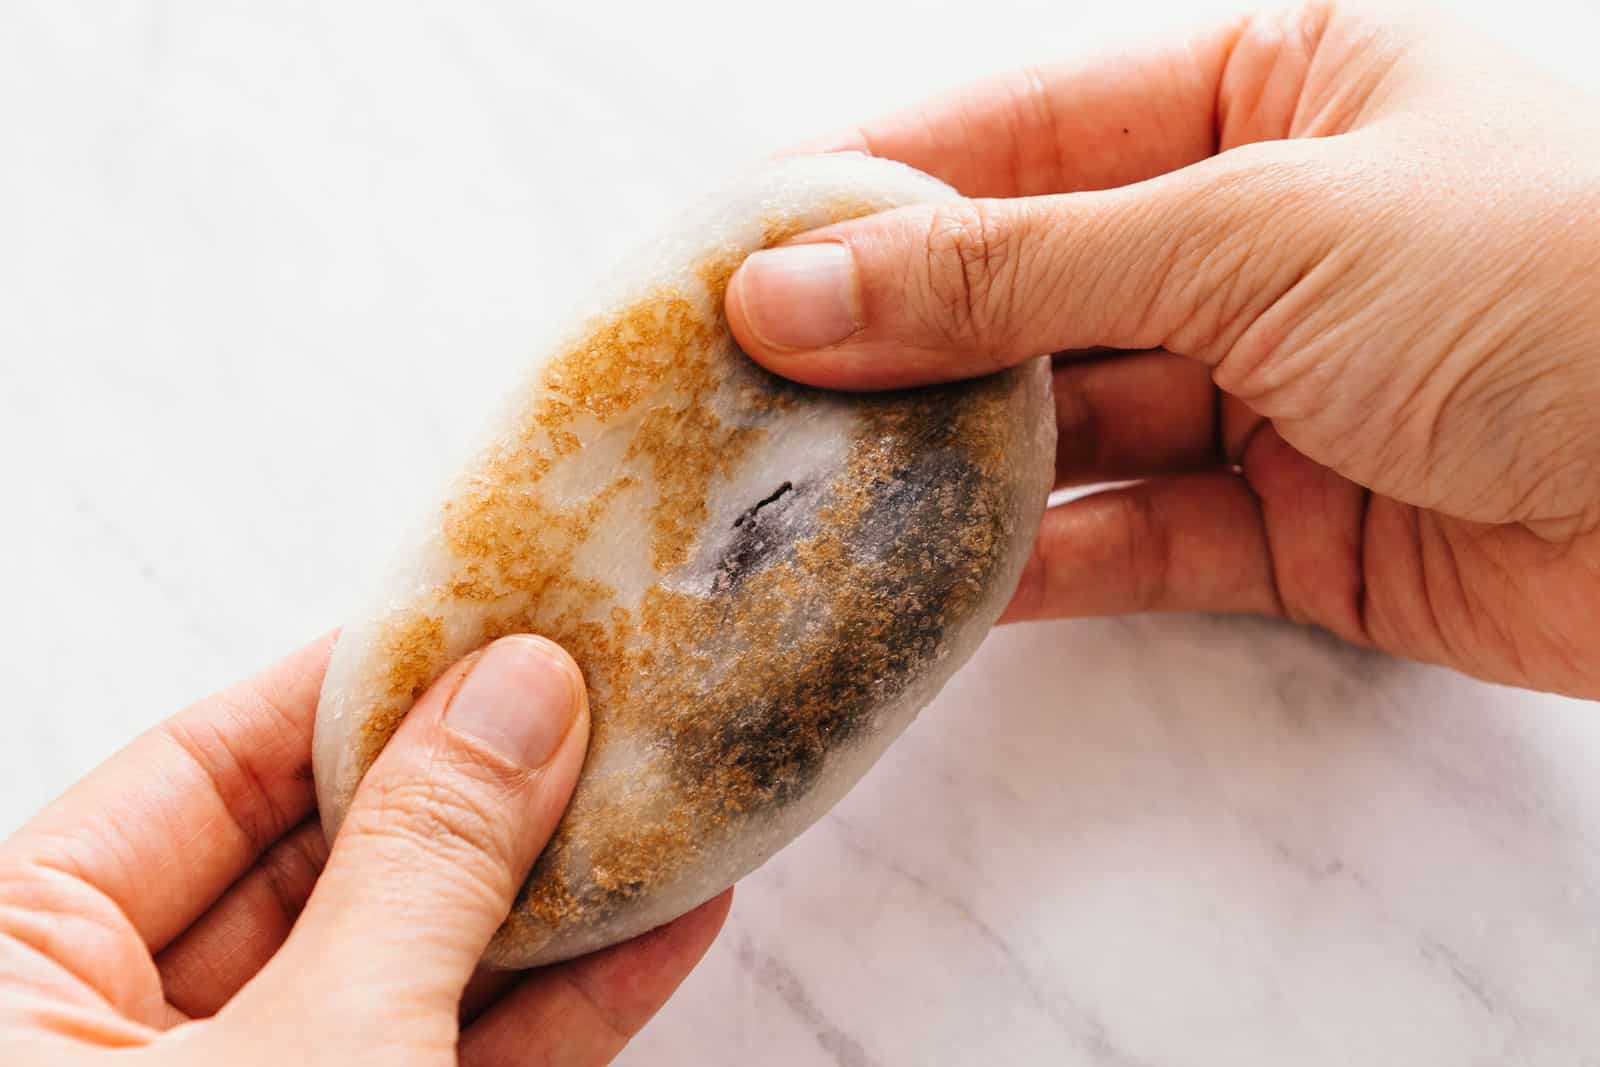
Roll one piece of dough into a ball. Use the palms of your hands to flatten the dough into a disc of about 2 1/2 to 3 inches wide. Place a piece of red bean paste in the center of the dough.
-
Enclose the bean paste inside the dough.
-
Roll the filled dough into a smooth ball. Using the palms of your hands, flatten the ball into a dish of about 2 1/2 to 3 inches wide and 1/2 inch thick. Transfer the flattened cake to a greased plate.
-
Continue shaping the remaining 6 pieces of dough into flat cakes. If the dough starts feeling crusty, knead it with your fingers until it no longer feels crusty. Once you’ve finished shaping 7 cakes, uncover the remaining dough inside the bowl. Divide the dough into 2-tablespoon pieces and shape into cakes. There should be enough dough to make 13 to 14 cakes.
-
Oven Method (cakes less greasy but no browning): Preheat the oven to 350ºF (175ºC). Position an oven rack to the center position. Line a large baking sheet with parchment paper and arrange the cakes over the baking sheet. Bake the cakes for 8 minutes. Flip all the cakes over to the other side and bake again for another 7 minutes. Don’t over bake the cakes because the red bean paste can leak out of the cakes.
-
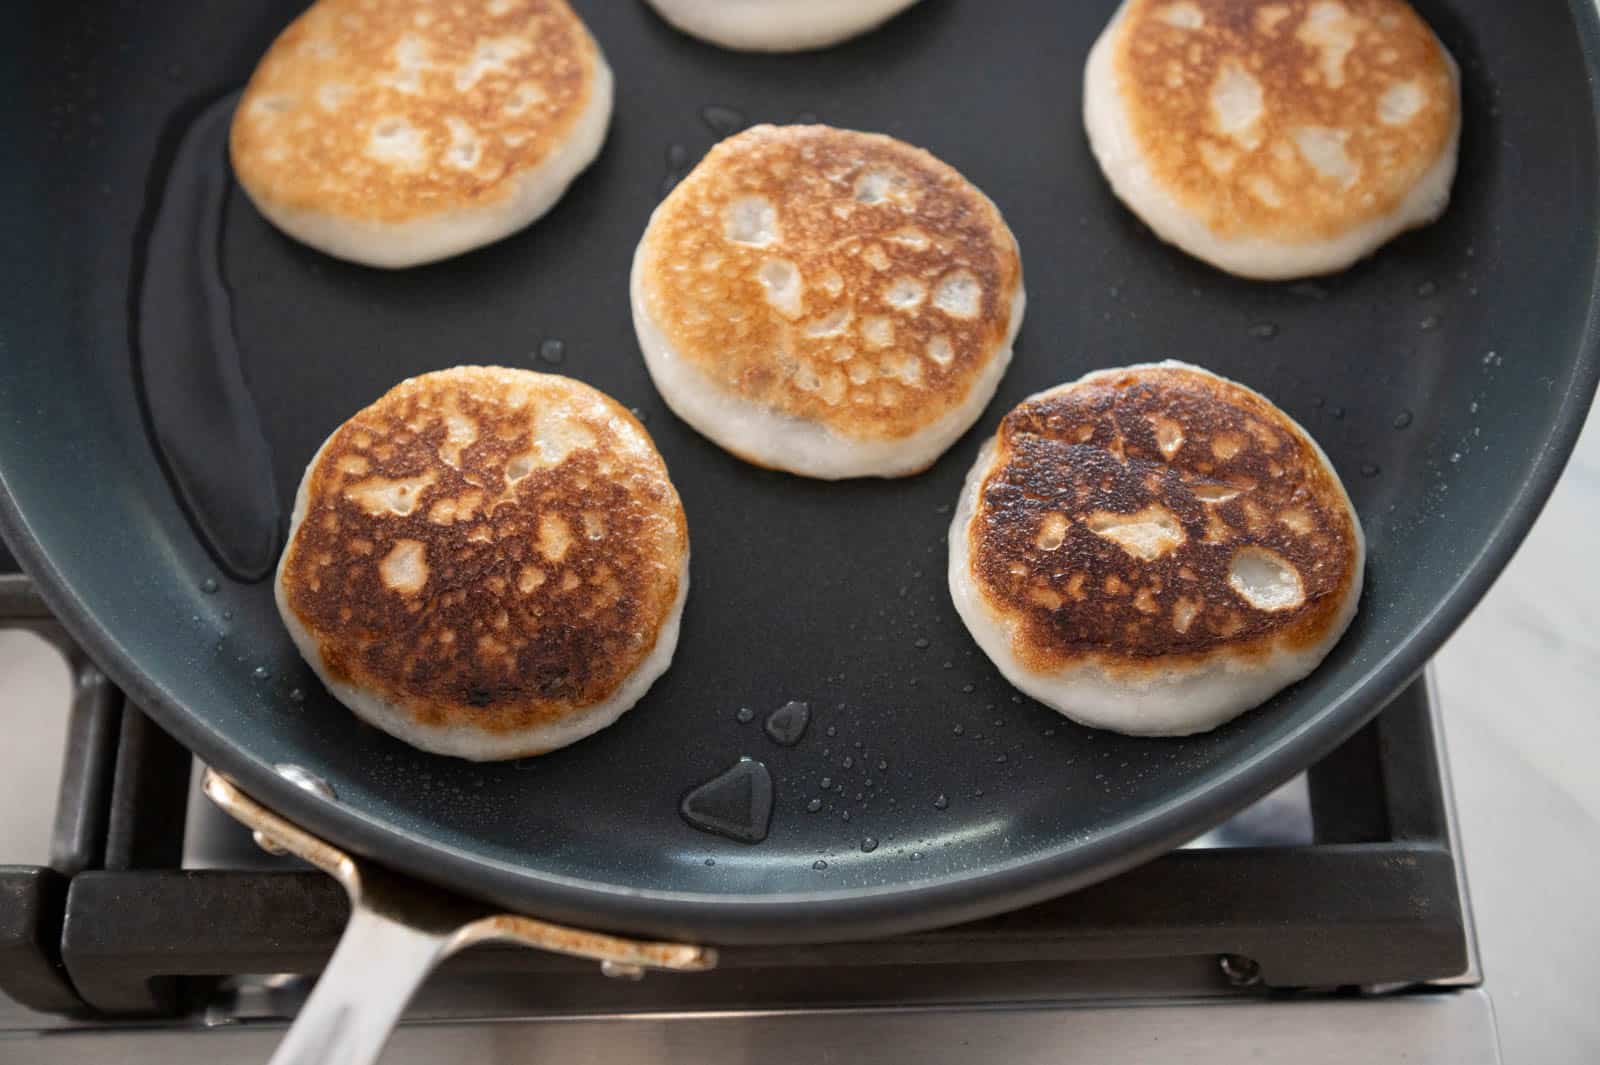
Pan-Frying Method (brown crust on cakes but greasy to touch): Heat a large nonstick pan with 1 to 1 1/2 tablespoons of oil over medium-low heat (see note 4). Don’t turn the heat on too high because the sugar content in the dough will cause the surface to brown (and potentially burn) quickly. Once heated, add half the cakes and pan fry for about 2 to 3 minutes, until they start to brown. If the cakes are browning much quicker than that, reduce the heat slightly. Flip the cakes over and pan fry the other side for another 2 to 3 minutes, until golden brown. The sides of the cakes should puff up slightly. Transfer the cakes to a plate. Transfer the cakes to a plate. Add a small drizzle of oil to the pan and cook the remaining cakes. Because the pan is hotter now, the cakes may brown faster. Keep an eye on the cakes and reduce the heat if they brown too quickly.
-
Let the cakes cool for at least 10 to 15 minutes before eating, as they are incredibly hot straight off the pan or out of the oven.
-
Store any uneaten cakes in a container and refrigerate. Reheat the cakes on a nonstick pan for a few minutes. If you are reheating oven-baked cakes, you’ll want a bit of oil on the pan; if you are reheating pan-fried cakes, no additional oil is necessary.
Notes
- Using Cooking Spray: Cooking spray is better than plain oil in keeping your hands from sticking to the dough. When I tried greasing my hands with oil, I found that I had to reapply oil to my hands much more often.
- Glutinous Rice Flour: My mom typically uses the glutinous rice flour produced by the Erawan brand (the one with the green label). You can substitute this with mochiko or sweet rice flour, though the texture will be slightly different. Note that glutinous rice flour is not the same thing as rice flour or brown rice flour.
- Using a Silicone Spatula: This dough is incredibly sticky. That’s why I recommend using a greased silicone spatula to work the dough because it won’t stick to the dough too much.
- Using a Nonstick Pan: I recommend using a nonstick pan to cook these cakes. I tried using cast iron, and I found it difficult to control the heat distribution. Some cakes were charred while others didn’t brown evenly.
Nutrition
Serving: 1cake | Calories: 2212kcal | Carbohydrates: 33.5g | Protein: 3.3g | Fat: 7.6g | Saturated Fat: 1.4g | Sodium: 3.5mg | Fiber: 1.9g | Sugar: 12g
[ad_2]
Source link